Before we start: what is MiCAR and why does it matter to you?
MiCAR (which stands for Markets in Crypto-Assets Regulation) is the unified European regulation that, from 30 June 2026, governs the operation of crypto platforms across the European Union. To draw a comparison, it is very similar to the banking regulations introduced in the 2000s: a set of harmonised rules defining how crypto platforms must treat customers, custody their assets, disclose risks, and manage conflicts of interest and complaints.
Young Platform was authorised as a CASP (Crypto-Asset Service Provider) by Consob and Banca d’Italia on 30 June 2026. From that date, we have updated our entire platform to comply with these rules. This guide explains — in practical terms — what has changed from your perspective as a customer.
If you have already read our “Base vs Pro” guide, you will find the other updates here. If you haven’t read it yet, we highly recommend doing so first. You can find the link here: Guide to understanding Young Platform Base and Young Platform Pro post-MiCAR. Concepts such as Bilateral Trade, Execution Policy, Order Book, and Limit Orders apply here too.
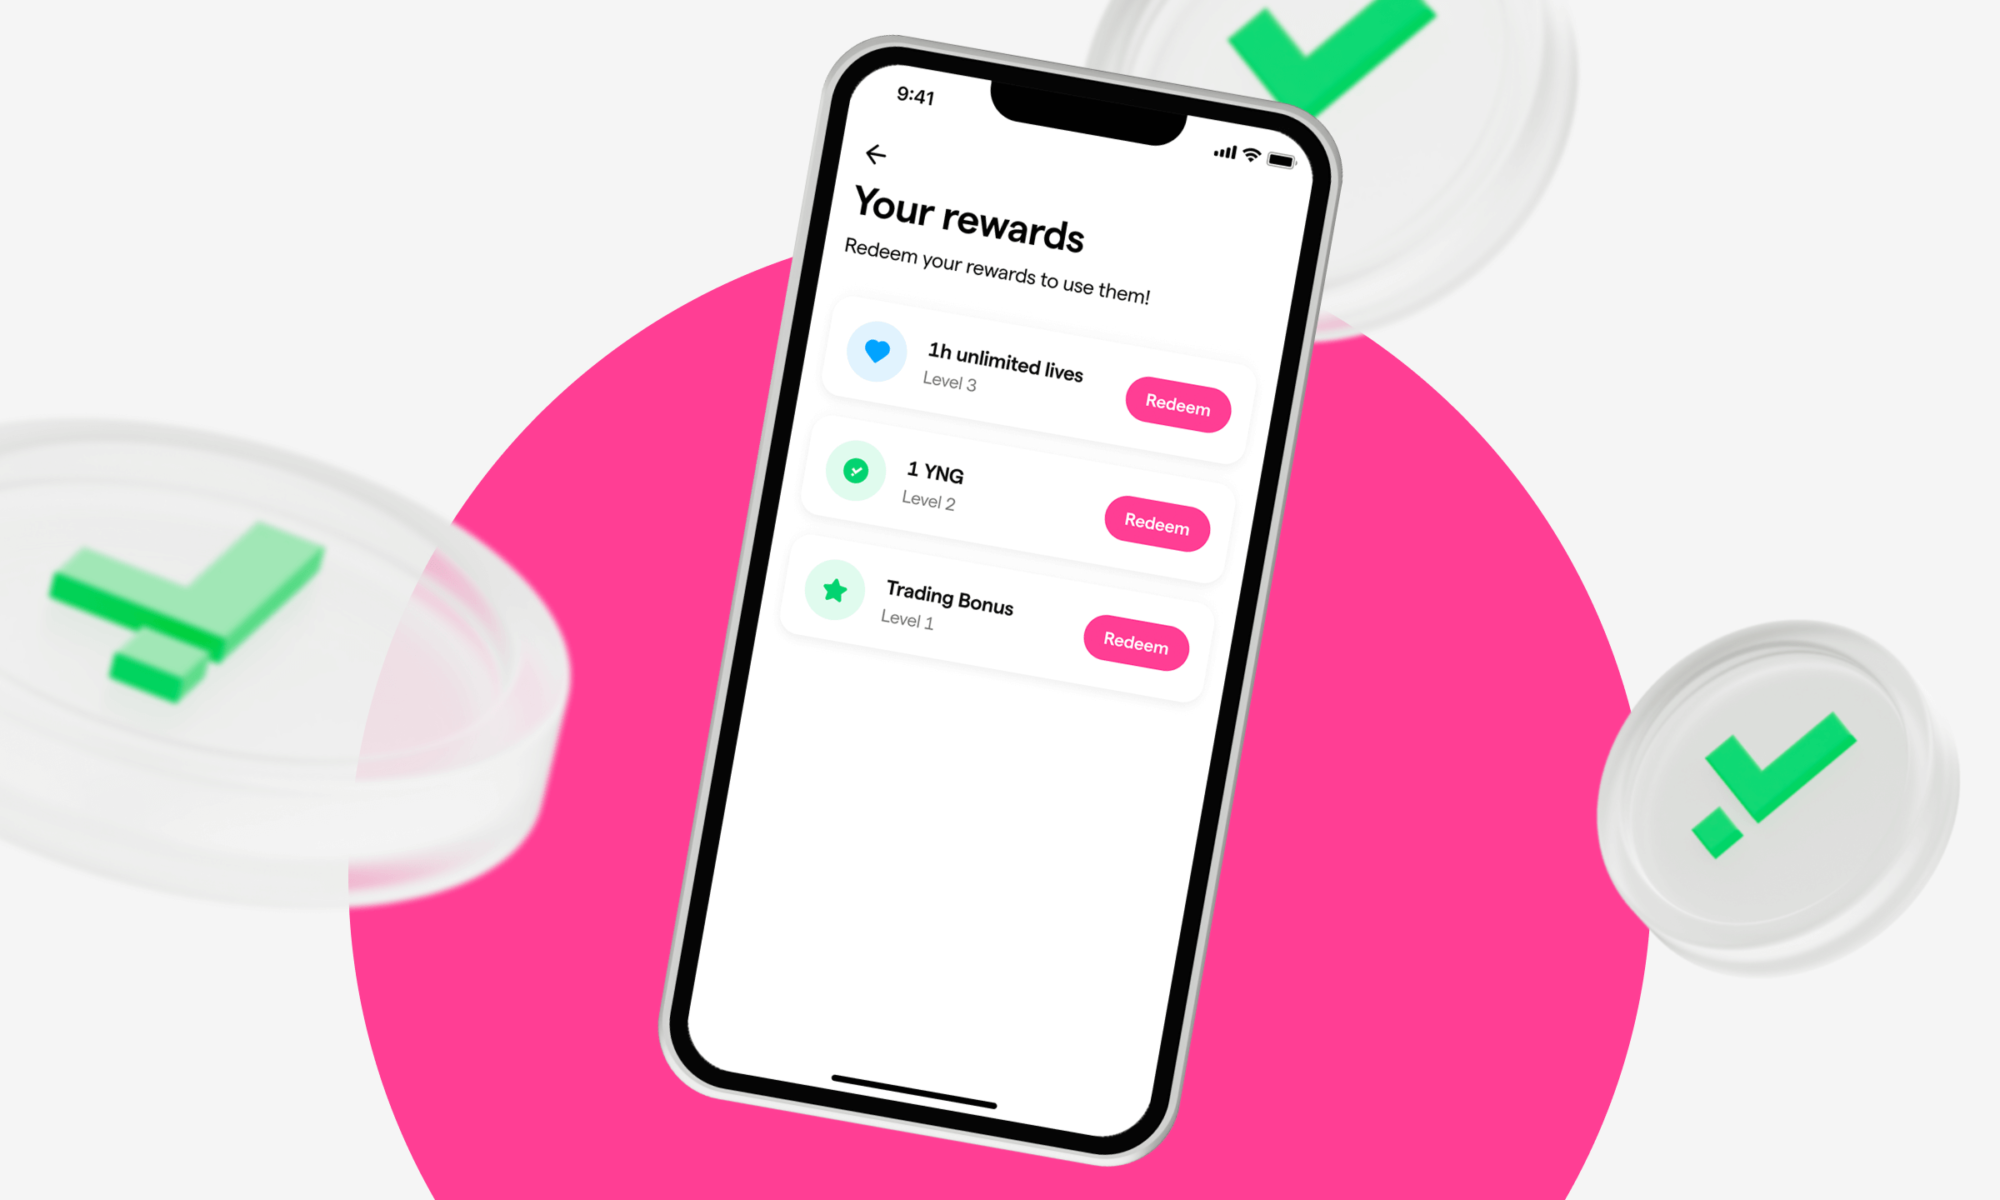
1. The YNG Token will temporarily only be available on Base, not Pro
What has changed
Prior to 1 July 2026, you could buy and sell the YNG Token (Young Platform’s proprietary token) on both Young Platform Base and Young Platform Pro. Since 1 July 2026, it has been available only on Base. It is no longer possible to place buy or sell orders for YNG on the Pro platform. All pending YNG orders on Pro were automatically closed during the maintenance window on the night between 30 June and 1 July, and your Euro/crypto funds were returned to your available balance.
Please note: Any YNG holdings you had in your “vault” (custody) have not been affected. If you had 500 YNG in your wallet, they are still there. Only the way you buy and sell them has changed: from now on, you will do this on Base.
Why
On the Pro platform, Young Platform acts as an intermediary, sourcing the best counterparty across external markets (other exchanges). However, the YNG token is not yet admitted to trading on other qualified external exchanges connected to Young Platform. Consequently, there was effectively no external market for it on Pro.
What you need to do
If you previously used Pro to buy or sell YNG, you must now use Base (either via exchange.youngplatform.com or the updated mobile app). The process remains the same: you see the price, you have 5 seconds to accept it, and the transaction is settled directly with Young Platform.
This service may return to Pro in the future, if and when YNG is admitted to trading on external qualified exchanges. Young Platform will notify you well in advance if this happens.
2. Withdrawals and deposits: new transfer verification rules
This is likely the most noticeable update for anyone transferring crypto between Young Platform and external wallets. The rules vary depending on where the crypto is going (or coming from) and the amount involved.
The golden rule (always applicable): you can only transfer to your own wallets
First and foremost, this is the most critical rule to remember, and it applies to any transaction amount, without exception: you cannot send crypto from Young Platform to a non-custodial wallet (such as MetaMask, Ledger, Trezor, etc.) registered to someone else. This applies even if they are your parent, sibling, best friend, or a merchant. The same rule applies to incoming deposits: if crypto enters your Young Platform account from a non-custodial wallet, that wallet must belong to you, not a third party.
This restriction stems from the European Travel Rule Regulation (Regulation EU 2023/1113) and applies regardless of the monetary value: even a €5 transfer is prohibited if the destination non-custodial wallet cannot be proven to be yours. If you attempt this, the platform will block the transfer, and your crypto will remain held until the transaction is cleared.
For wallets held with other authorised exchanges (e.g., Coinbase, Kraken, etc.), specific checks are also carried out.
How Young Platform verifies that a non-custodial wallet is actually yours
A non-custodial wallet is one where only you hold the private keys. Examples include MetaMask, Ledger, Trezor, Trust Wallet, and Rabby. The way Young Platform verifies ownership depends on the transfer amount.
- If the amount is under €1,000: A dedicated screen will appear where you must tick a box declaring, under your own responsibility, that you are the sole owner of the wallet and the private keys. This is a legally binding self-declaration: declaring false information carries personal liability. Without ticking this box, the transfer cannot proceed.
- If the amount is €1,000 or more: Self-declaration is no longer sufficient. You will be asked to provide a formal cryptographic signature. This is required to objectively prove — rather than just declare — that you possess the private keys to that wallet.
What “cryptographic signature” means in simple terms
A cryptographic signature is a mathematical signature. It is not a written declaration, but a technical process: it involves using your wallet’s private keys to sign a unique message sent to you by Young Platform. If you are the genuine owner of the wallet, you will be able to generate this signature. If you are not, you won’t. It is the equivalent of proving you own a car by not just showing the logbook, but actually starting the engine with your key in front of a notary.
The practical steps on your screen are fully guided:
- Young Platform displays a message.
- You open your non-custodial wallet.
- Your wallet prompts you to confirm the signature (usually via Face ID, PIN, or by tapping your Ledger/Trezor hardware device).
- Your wallet generates the signature and transmits it to Young Platform.
- If the signature is valid, Young Platform releases the transfer. If it is invalid (or if you do not complete it), the transfer will be rejected and your crypto will remain in your Young Platform account.
The technical service provider Young Platform uses to manage this signature verification is Notabene, a platform specialising in Travel Rule compliance.
If the wallet is on another exchange
In this case, the logic is different. A wallet on another authorised exchange does not have “private keys” that the customer can sign — the hosting exchange holds them. Therefore, cryptographic signing does not apply.
Instead, the Travel Rule requires an automatic exchange of data between Young Platform and the destination exchange. Specifically:
- When you set up the transfer, Young Platform will ask you for the recipient’s personal details (first name, surname, and whether they are you or someone else).
- Young Platform and the receiving exchange will automatically and securely exchange this data in an encrypted format using an international technical standard called IVMS101 (essentially a “common language” for crypto platforms).
- If the other exchange confirms the details, the transfer goes through.
- If the other exchange does not respond or provides incomplete data, the transfer will be temporarily held, and Young Platform will ask you to manually provide the missing details before releasing it.
Once again, Notabene is the technical tool orchestrating this secure data exchange between platforms.
What is the Travel Rule (and why does it exist)?
The Travel Rule is a regulatory standard introduced by the European Union under Regulation EU 2023/1113. Essentially, it dictates that specific identifying data must “travel” with the transaction, just as it does with international bank transfers. If a bank processes a €10,000 transfer to another bank, it must specify the sender and the recipient — name, address, and IBAN. The crypto Travel Rule operates in the same way, with minor technical adjustments (using blockchain addresses instead of IBANs).
The objective is to prevent money laundering and terrorist financing: by ensuring every crypto movement is traceable, it becomes significantly harder to move illicit funds through regulated platforms.
What happens if a transfer gets blocked?
This can happen for several technical reasons:
- The receiving exchange fails to respond to the data exchange promptly.
- The sent data is incomplete.
- Your non-custodial wallet fails to sign due to a technical error.
- The destination address is flagged on a suspicious list (such as sanctioned addresses, known scams, etc.).
In all these scenarios, the transfer goes into a temporary block. Your crypto will not leave your account and will not reach the recipient until the issue is resolved. You will receive an in-app notification explaining what is missing and what you need to do (for example, providing the signature again, updating the recipient’s details, or contacting Customer Support).
Please do not worry if this happens: it is a protective security mechanism, not a penalty. If you have any doubts, get in touch with Customer Support straight away.
What is the Transfer Policy (in a broader sense)?
It is worth distinguishing between two documents that sound similar but cover different areas:
- The Crypto-Asset Transfer Policy (Article 80 MiCAR) is the document where Young Platform outlines how it delivers its transfer services as a regulated activity: who is permitted to make transfers, how transfers are processed, what technical security measures are in place, and so on.
- The Travel Rule Procedure (Regulation EU 2023/1113) is a more specific document detailing how Young Platform collects and exchanges the data that must accompany every crypto transfer, and how it implements cryptographic signatures for non-custodial wallets.
These two documents are designed to be read alongside each other.
What you need to do in practice
- If you are transferring less than €1,000 to or from your own non-custodial wallet: Simply tick the self-declaration box when prompted. That is all.
- If you are transferring €1,000 or more to or from your own non-custodial wallet: Be ready to perform the cryptographic signature (make sure your wallet is open on your phone or your hardware device is connected beforehand).
- If the wallet is on another exchange: Provide the requested personal details; the rest is handled automatically in the background.
- Never attempt to send crypto to another person’s non-custodial wallet (not even a family member): this is strictly prohibited at any transaction value. If you need to send crypto to someone, ask them to set up their own account on Young Platform or another authorised exchange.
3. Delisting: some cryptocurrencies are no longer available
What happened
With the introduction of MiCAR, Young Platform had to review the list of available cryptocurrencies on our platform. Some have been removed. The technical term for this is “delisting”, which simply means removing them from our available selection — much like a supermarket taking certain products off the shelves if they no longer meet new regulatory standards.
Why
The reasons vary depending on the specific crypto-asset:
- Some stablecoins do not hold EMT (E-Money Token) status under MiCAR and therefore cannot be offered within Europe. USDT (Tether) is the most prominent example: as it is not yet compliant with MiCAR, it cannot be marketed as an EMT within the EU.
- Some crypto-assets are deemed high-risk due to low liquidity, technical vulnerabilities, or concerns over project governance.
- Some crypto-assets lack a MiCAR-compliant White Paper notified to the relevant competent authority, which is now a mandatory requirement for offering assets to the European public.
The fully updated list of supported cryptocurrencies is always available to view at youngplatform.com/en/exchange/listed/ and in our Terms and Conditions.
What you need to do
If you were affected, you will have received a dedicated notice from Young Platform outlining your options (such as converting the assets, withdrawing them to an external wallet, etc.) along with a deadline. If you don’t remember receiving this email, please check the email address associated with your account. If you have any questions, contact Customer Support.
4. Some trading pairs are changing: from USDC to EUR
What is a trading pair?
A trading pair (or “pair”) is the combination of two assets you are exchanging. If you buy Bitcoin using Euros, the pair is BTC/EUR. If you buy Bitcoin using USDC (a dollar-pegged stablecoin), the pair is BTC/USDC.
What has changed
Following 1 July 2026, Young Platform converted several trading pairs from USDC to EUR.
Why
There are two main reasons for this:
- It is simpler for you: When you buy using EUR, you know exactly how much you are spending in your local currency. Buying in USDC requires extra mental steps (converting Euros to USDC, then USDC to BTC), and each step carries a small transaction cost. For European retail users, EUR pairs are far more intuitive.
- Regulatory requirements: Under MiCAR, offering pairs against stablecoins that must meet specific criteria (authorised EMTs) involves stricter checks and disclosure requirements. In some cases, for operational efficiency, it is preferable for Young Platform to support the trading pair directly in Euros.
What you need to do
If you used to trade regularly against USDC on certain cryptocurrencies, check if the pair has switched to EUR. If it has, there is no cause for concern: you can continue making the same trade; you will simply pay and receive Euros instead of USDC. If you still require USDC, you can buy it separately just like any other cryptocurrency.
5. Moneybox (recurring purchases) and Recurring Staking
What is the Moneybox?
The Moneybox feature allows you to set up automatic, recurring purchases (weekly, bi-weekly, or monthly) for one or more supported cryptocurrencies.
These recurring Moneybox purchases are built on the same Bilateral Trade model described in our “Base vs Pro” guide. We have included a brief summary below, though we highly recommend reading the full guide.
What has changed
Quite simply, when you tap “Buy”, you are purchasing crypto directly from Young Platform. The platform acts as the sole dealer: Young Platform sells to you (or buys back from you) the cryptocurrency at the price displayed on your screen.
When setting up a recurring purchase plan via Moneybox, you will be asked for prior authorisation to execute these orders. This is designed to automate and simplify the recurring purchase process.
When a recurring purchase is executed through Moneybox, Young Platform applies a 1.89% fee on the transaction value for orders exceeding €100. For a complete overview of our fees, please visit this page.
Naturally, you can edit, pause, or cancel your Moneybox plan at any time, which will apply to all future scheduled orders.
What is Recurring Staking?
Recurring Staking allows you to schedule automatic purchases of crypto (on a weekly, bi-weekly, or monthly basis). Once purchased, the crypto goes straight into your Staking Wallet — which we will cover below — to start generating rewards automatically, with no further action required from you.
As with the Moneybox, purchases made through Recurring Staking follow the Bilateral Trade model.
What has changed
Each scheduled purchase via Recurring Staking works exactly like those authorised under the Moneybox feature: you buy the crypto directly from Young Platform at the real-time calculated market price, with fees following the same structure linked above.
As soon as the purchase is complete, the crypto is instantly moved into your Staking Wallet. We discuss this in more detail in the next section, but please keep in mind that, from a legal perspective, the Staking service is governed by its own contract and is not regulated under MiCAR.
By activating the plan, you authorise both the purchase and the transfer to your Staking Wallet in advance, with all costs clearly outlined from the start. Just like the Moneybox, you can modify, pause, or cancel your plan at any time. Any changes will apply starting from the next scheduled purchase.
If you cancel one or more stakes, any funds you have already accumulated will be automatically moved back to your Main Wallet.
The Staking Wallet is not a MiCAR-regulated service
What is the Staking Wallet?
The Staking Wallet is a service on Young Platform that allows you to “stake” certain cryptocurrencies (such as Ethereum) to receive periodic rewards. Technically, when you stake, your crypto is “locked” to help support the operations of the blockchain, and in return, you earn rewards over time.
Why we want to clarify that “it is not a MiCAR service”
Simply because MiCAR does not directly regulate staking. The European regulation covers activities such as exchanging crypto-assets (Article 77), executing orders on behalf of clients (Article 78), custody (Article 75), transfers (Article 82), advice, discretionary portfolio management, and placement. Staking as a standalone service is not covered.
This leads to two key practical implications:
- MiCAR protections (such as custody asset segregation, risk disclosures, and provider requirements) apply to the underlying custody service, not to the staking service itself.
- Staking carries specific risks that are not covered by the MiCAR framework, which you should be fully aware of before activating it. These include slashing risk (where a portion of your staked crypto can be confiscated if the validator makes an error), protocol risks (for example, Lido for Ethereum), potential lock-up periods during which you cannot withdraw, and de-pegging risks for derivative tokens like wstETH (Wrapped Staked Ether).
What you need to do
If you use the Staking Wallet, please carefully read the specific Terms and Conditions of the Staking Wallet and the dedicated risk disclosures published at youngplatform.com/staking-wallet/. These are separate from Young Platform’s General MiCAR Terms and cover specific details such as:
- How rewards are calculated.
- When you will receive them.
- Which cryptocurrencies are staked and with which protocols/validators.
- How the “unstaking” (withdrawal) process works.
- What happens in the event of protocol slashing or technical issues.
In summary: The Staking Wallet is just as secure as before, but it is a distinct service from MiCAR-regulated services, governed by its own rules and risks. Please treat it as such.
Key takeaways in a nutshell
If you only remember the most practical points from this guide, make sure they are these:
- YNG can only be bought and sold on Base, no longer on Pro.
- Transfers to non-custodial wallets: Only to your own wallet (never to third parties, regardless of the amount). For amounts under €1,000, a self-declaration checkbox is enough; for €1,000 and above, a cryptographic signature is required. If the wallet is on another exchange, personal data is exchanged automatically via Notabene (Travel Rule).
- Certain cryptocurrencies have been removed from the platform. If you held any of these, you have already been notified of your options.
- Some trading pairs have changed from USDC to EUR, improving price transparency.
- The Staking Wallet and the DeFi Wallet are not MiCAR services. They have their own rules and risks: make sure to read their dedicated disclosures.
Questions & Answers
1. Do I need to download a new app for the cryptographic signature?
No. If you already have a non-custodial wallet (such as MetaMask, Ledger, Trust Wallet, etc.), you will perform the signature directly within that wallet. If you do not have a non-custodial wallet and only want to transfer crypto to accounts on other exchanges (like Coinbase or Kraken), you do not need one: you will simply follow the “proof of account ownership” procedure.
2. Does the €1,000 limit apply to a single transfer or the total amount over a certain period?
It applies to individual transfers, in line with Young Platform’s Travel Rule Procedure. A withdrawal of €990 to your own non-custodial wallet only requires you to tick the self-declaration box; a withdrawal of €1,000 (or more) requires a cryptographic signature. Please note: systematically splitting transactions to bypass this limit may trigger additional anti-money laundering checks on your account.
3. If I place a large amount of funds into staking, am I violating any MiCAR rules?
No, staking is not prohibited. It is simply not regulated under MiCAR as a standalone service. You can continue to use it, but please ensure you understand the specific risks involved (such as slashing, lock-up periods, and protocol-specific risks).
4. Is the value of my crypto guaranteed by anyone now that MiCAR is in force?
No. MiCAR ensures transparency, fair conduct by the platform, asset custody segregation, and your right to file complaints. It does not guarantee the value of your cryptocurrencies, which remain subject to market volatility. Cryptocurrencies do not benefit from protection schemes equivalent to the Interbank Deposit Protection Fund.
5. What should I do if I have an issue with a blocked withdrawal or a signature that won’t process?
Please reach out to Customer Support at support.youngplatform.com. If you are not satisfied with the response, you can submit a formal complaint via youngplatform.com/legal/complaints/. As a last resort, you can contact Consob, Banca d’Italia, or initiate an Alternative Dispute Resolution (ADR) procedure.
6. Why are there so many checks now? It feels more complicated than before.
This is a very fair question. MiCAR was created for a simple reason: to bring crypto into a regulatory framework similar to other financial services, ensuring that anyone using a European crypto platform enjoys protections comparable to banking customers. Some checks (like the cryptographic signature for larger transfers) are the crypto equivalents of verifying an IBAN during a bank transfer. While they might feel like an extra step at first, they will soon become second nature — and they protect you just as much as they protect the platform.
This guide is for informational purposes only. It does not constitute investment advice or a personalised recommendation. For binding contractual terms, please refer to Young Platform’s General Terms and Conditions, the Crypto-Asset Transfer Policy, the Custody Policy, the Best Execution Policy, and other official disclosures published at youngplatform.com/legal.